GW4.0きたーーー!
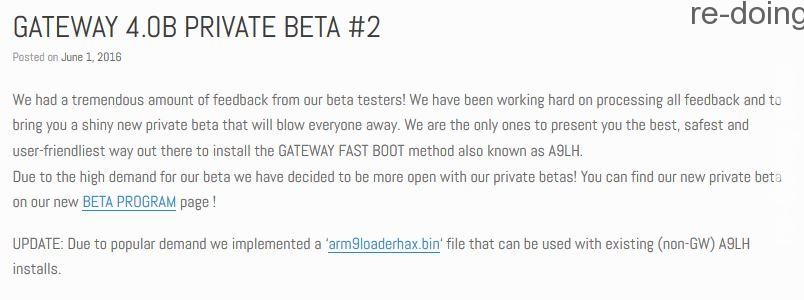
って思ったけどよく見たらまだPRIVATE BETAであって
PUBLIC BETAではない・・・・
更新前のPRIVATE版ではBrick続発だったそうなので
利用はお勧めしない。
やはりPUBLICBETAが出るまで待つべきだと思う。
今回のリリースは遅延に対しユーザーからの問い合わせが多く
仕方なく公開したに過ぎない?
これが最終版ではなさそうなので様子を見たほうがいいでしょう。
そして手順ですね。
Private Beta Program
DISCLAIMER: Files on this page should be treated with extreme care and only used by advanced users who have access to a way to restore their 3DS NAND. Users should have a valid/known good copy of their NAND before proceeding! Use at your own risk!
» Pre Setup
- Copy the contents of the “Console SD” folder on to root of your consoles SD card.
- Copy the contents of the “Red Card uSD” folder on to root of your GW Red Card uSD.
» How to setup (O3DS):
- Make sure you have WiFi configured and working.
- GATEWAY 3DS based entrypoint:
- Boot into GATEWAY 3DS sysNAND mode (Force GW Menu by holding down L during boot, hold B while pressing A to boot)
- Bring up the OSD, select GATEWAY Time Machine, select 2.x downgrade
- Homebrew based entrypoint:
- Boot GW_TIMEMACHINE.3DSX using your favourite homebrew entrypoint
- In the GATEWAY Time Machine menu select the 2.x downgrade
- Delete/rename the “Nintendo 3DS” folder on your console’s SD card.
- Boot your O3DS into 2.x
- Open up the web browser and surf to http://go.gateway-3ds.com/
- After a short wait, the GATEWAY Menu should appear, go into the A9LH Installer
- A9LH will be installed & sysNAND will be restored from NAND.bin
- Reboot your console and enjoy GATEWAY A9LH on your O3DS!
» How to setup (N3DS):
- Boot into GATEWAY 3DS menu using your favorite entrypoint
- Pick the format emuNAND option from the menu (if you don’t have a working emuNAND setup yet)
- Boot into GATEWAY (emuNAND) mode
- Make sure you have WiFi configured and working correctly
- Bring up the OSD, select GATEWAY Time Machine
- Launch GATEWAY Time Machine, select 2.x downgrade
- Boot back into GATEWAY 3DS menu after rebooting
- Select A9LH Installer menu option, follow instructions on screen
- Boot your N3DS into 2.x (if console doesn’t boot make sure ‘Nintendo 3DS’ folder has been renamed)
- Open up web browser and surf to http://go.gateway-3ds.com/
- Go to A9LH Installer menu option again, follow instructions on screen until congratulations message appears.
- Reboot your console and enjoy GATEWAY A9LH on your N3DS!
» GATEWAY 4.0 BETA CHANGELOG (20160601)
- Time Machine compatibility and stability fixes
- GATEWAY Menu compatibility and stability fixes
- Rename ‘Nintendo 3DS’ folder to 3DS_BAK (N3DS)
- Add warning/nag screen when A9LH user tries to boot into sysNAND (to prevent accidentical sysNAND updates)
- Time Machine won’t allow 9.x to 2.x downgrade on O3DS (Must upgrade to 10.x first, then go down to 2.x)
- OTP.bin is now detected when entering A9LH install and offers a way to re-install A9LH (without the nand restore step)
- Users who have an old browser (non A9LH related entrypoint) and were getting served the wrong payload can now use: http://go.gateway-3ds.com/old/
- Forced restore of emuNAND for N3DS and sysNAND for O3DS+N3DS prior to A9 install finalization.
» FREQUENTLY ASKED QUESTIONS
Q: My console is not booting into 2.x
A: Try ejecting your SD card, if this helps, rename/delete the ‘Nintendo 3DS’ folder and try again.
Q: Can you provide a BIN file that is compatible with my existing A9LH (non-GW) setup?
A: We’re working on a solution for this.
GW4.0 PRIVATE BETA
arm9loaderhax.bin.zip
日本Old 3DS用 TIME MACHINE DATA PACKS
日本New 3DS用 TIME MACHINE DATA PACKS